Plumbing for new construction homes is the planning and installation of water, drain, vent, and hot-water systems so your new home works safely from move-in onward. For a San Jose home in 2026, settle fixture locations and responsibilities before pipes go in, then verify the work before walls close.
- Plumbing for new construction homes needs coordinated plans, inspected rough-in work, and a documented handover.
- Choose a new-construction plumbing contractor for installation; confirm responsibility for permits, testing, and sewer connections.
- $15 Sewer & Drain serves San Jose homeowners needing residential plumbing and drain service.
- Keep shutoffs, sewer cleanouts, and serviceable equipment accessible after construction.
A new build needs a construction-specific scope, not just a general service appointment. $15 Sewer & Drain is best for San Jose homeowners seeking local residential plumbing and drain service. The locally owned company has operated since 1983; start with $15 Sewer & Drain and confirm whether your requested construction work fits its services. The $15 name refers to the service charge only; flat-rate pricing is provided by phone before the technician arrives based on the problem.
Why plumbing matters for new-home owners
New construction gives you access to pipes before finishes hide them. Use that opportunity to resolve fixture placement, access, drainage, and service responsibilities while changes remain visible. A finished bathroom is not proof that its concealed plumbing has been accepted.
Your needs differ from those of someone booking a clogged-drain repair. You must coordinate the builder, plumbing contractor, other trades, inspections, and utility connections. Their work meets inside walls, beneath floors, and at the property boundary.
For a San Jose project in 2026, ask the permitting authority which requirements apply to your address and approved plans. Use project-specific requirements, not a plumbing checklist copied from another city. If you are building a rental home, include the future property manager in decisions about shutoff access, maintenance records, and tenant instructions.
How to plan plumbing for a new construction home
1. Map your fixtures and construction stages
Start with a floor plan and a written fixture list. Mark every sink, toilet, shower, tub, laundry connection, and appliance that needs water or drainage. Your builder and plumbing contractor should reconcile that list with the drawings before installation begins.
Think about how you will use the house, not just how the rooms look. A kitchen island, upstairs laundry area, or separate living space creates coordination questions that belong in the plans. Record future additions as proposals; do not assume the installed system will accommodate them.
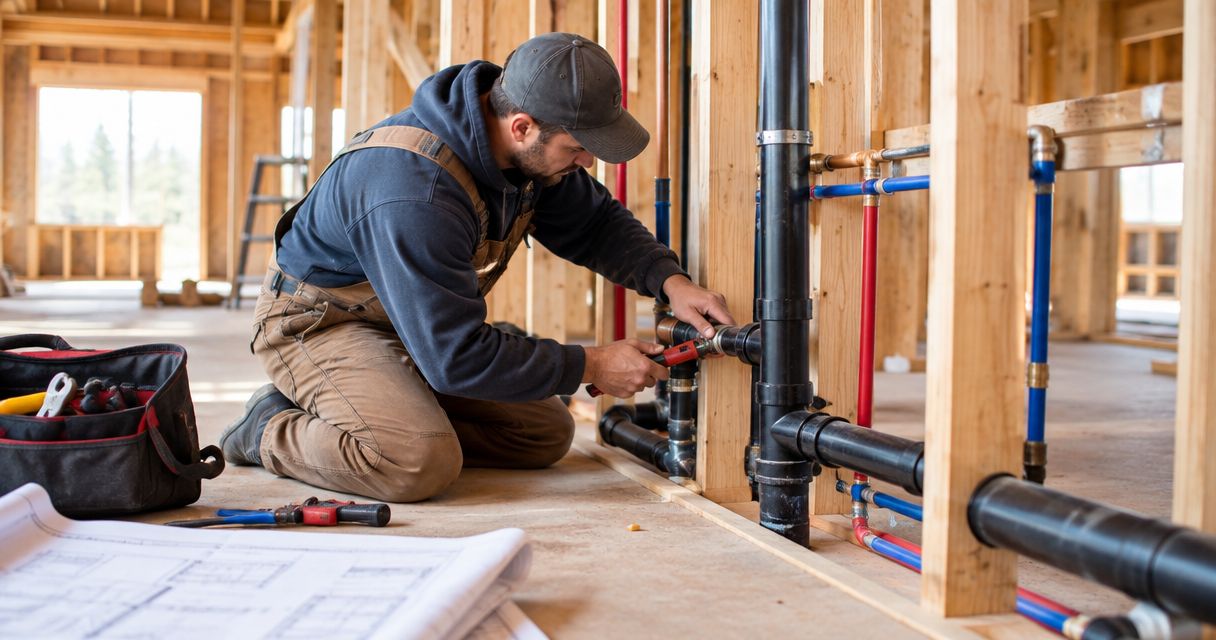
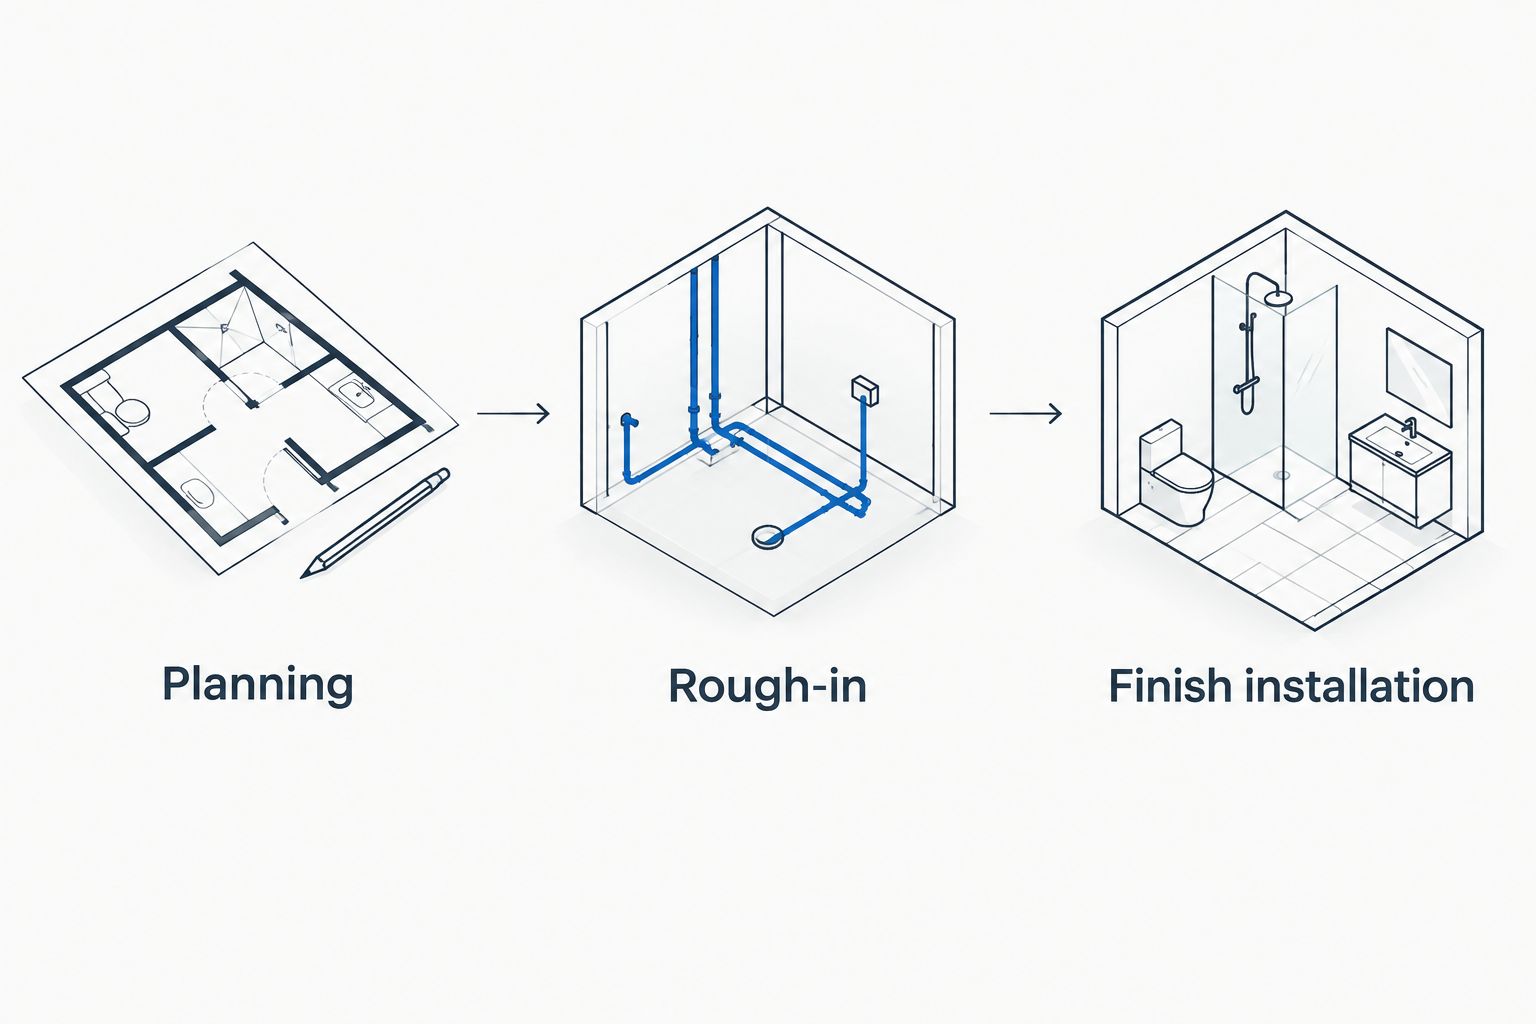
Organize the work into 3 project stages: planning, rough-in, and finish installation. Rough-in means installing the concealed piping and connections before finishes; finish installation means connecting fixtures and completing the accessible work. Keep these stages distinct in your 2026 project schedule so acceptance of one does not imply completion of another.
- Planning: confirm fixture locations and the intended use of each room.
- Rough-in: coordinate concealed pipes, vents, supports, and inspection access.
- Finish installation: connect fixtures and check operation.
- Mark access points that cabinetry or landscaping must not cover.
- Record proposed changes before the contractor installs affected piping.
A stage map helps you ask the right question at the right time. Finish choices should not quietly change a rough-in plan that has already been installed.
2. Assign responsibility before hiring
Create a responsibility list yourself, then review it with the builder. Name who supplies fixtures, installs piping, arranges inspections, coordinates utility work, and corrects incomplete items. A verbal understanding is not a substitute for an agreed scope.
Ask each construction contractor to explain where its work begins and ends. Does the agreement cover the house only, the outside sewer connection, or both? Who handles work that requires another trade? Compare proposals against the same fixture list so omissions do not look like advantages.
For a separate plumbing or drain-service need, $15 Sewer & Drain provides residential services in the San Jose area. Its live dispatcher answers calls 24 hours a day. Describe the actual task by phone and confirm the scope and technician arrival expectations before booking; do not treat dispatch access as a construction completion promise.
- Identify the person responsible for each plumbing task.
- Confirm permit and inspection responsibilities in writing.
- Separate fixture supply from fixture installation.
- Define who coordinates outside connections and excavation.
- List exclusions and the process for approving changes.
3. Confirm approvals and utility connections
Contact the local permitting authority and relevant utility providers before work reaches a point that depends on their approval. Your contractor should explain the required sequence. Keep written records of submissions, inspection requests, corrections, and approvals with the project documents.
For your 2026 San Jose build, verify requirements against the property address and actual scope. Do not assume a neighboring project establishes the rules for yours. An existing connection also needs a documented decision about whether it will serve the new home.
Ask the builder to distinguish permission to install from permission to conceal or use the work. Those are different project questions. Before foundations, paving, or finishes limit access, confirm that required connection details and inspection steps have been addressed.
- Confirm which authority approves the plumbing work.
- Identify the water and wastewater connection arrangements.
- Check who submits applications and follows up on corrections.
- Record inspections required before work is covered.
- Keep approval records alongside the current plans.
Do not schedule concealment solely because installation appears finished. Make the inspection and correction status part of the decision to proceed, with the responsible contractor confirming the next step.
4. Choose piping and fixtures as a system
Begin with your intended fixtures and household use, then ask the plumbing contractor to select compatible piping and equipment. Pipe sizing, material selection, hot-water arrangements, and fixture connections belong in a coordinated design. Avoid buying fixtures first and expecting the concealed work to adapt without review.
Material choices have different installation and maintenance considerations. Copper requires appropriate joining methods and protection; plastic piping requires attention to its approved application, supports, connections, and exposure limits. Neither material makes design, workmanship, or inspections unnecessary.
For hot water, compare storage and tankless arrangements against the house rather than choosing by a label. A storage heater holds heated water but needs space for the tank. A tankless heater heats water as it passes through but still needs suitable utilities, installation space, and servicing access.
- Give the contractor the actual fixture specifications before rough-in.
- Ask why the proposed pipe materials suit the approved application.
- Confirm hot-water equipment requirements before ordering.
- Coordinate appliance connections with the appliance specifications.
- Keep valves and serviceable equipment reachable.
5. Verify drainage and sewer access before covering work
Ask the contractor to explain where wastewater leaves the house and how the drainage system connects to the approved disposal arrangement. Include venting and cleanout access in that review. A cleanout is an access point used to inspect or clear a drain; it should remain usable after construction.
Walk the route with the builder while it is still visible. Look for conflicts with planned patios, cabinets, fences, and planting areas. You are not checking technical compliance yourself. You are confirming that the installation matches the agreed layout and that future service access has not disappeared.
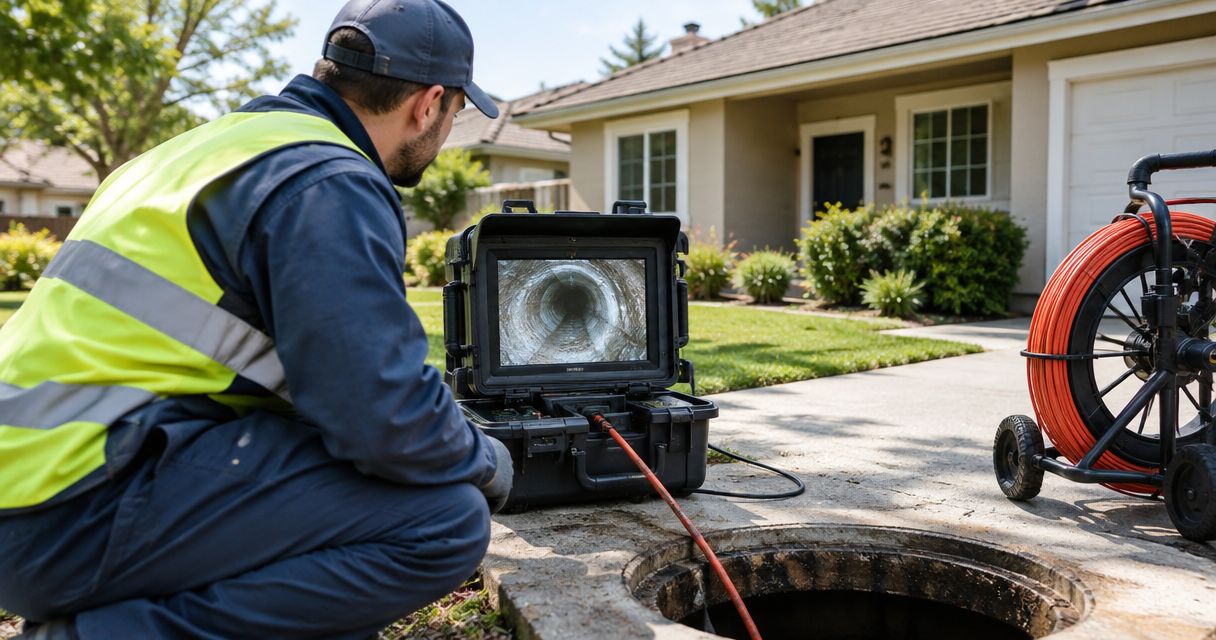
If the project connects to an existing sewer line, ask how its condition will be assessed. A camera inspection can show the visible interior of an accessible line, but it does not replace required construction inspections or prove every concealed connection is correct. The guide to sewer camera inspections in San Jose explains that separate service category.
- Confirm the wastewater route shown on the plans.
- Locate cleanouts before landscaping or paving begins.
- Ask how an existing connection will be evaluated.
- Record unresolved drainage questions for the contractor.
- Keep inspection access open until the required review is complete.
6. Check rough-in work before walls close
Review the rough-in with the builder and plumbing contractor before it becomes concealed. Bring the current plans, fixture specifications, and approved changes. Your role is to spot mismatches and document questions, not to conduct the contractor's pressure or drainage tests.
Ask which tests the project requires, who performs them, and how results and inspections are recorded. Testing methods and acceptance requirements depend on the system and applicable rules. Do not improvise a test or use an online pressure setting as a substitute for the approved procedure.
Check practical details while they remain visible. A connection in the wrong place can conflict with a vanity drawer, washing machine, or shower fitting. Photograph accessible pipe routes with the contractor's permission, but treat photographs as maintenance records rather than proof of approval.
- Compare connection locations with the selected fixtures.
- Confirm required testing and inspection records.
- Check that agreed access points remain reachable.
- Document approved layout changes.
- Resolve open corrections before authorizing concealment.
A photo of a pipe is useful; an accepted inspection record answers a different question. Keep both where appropriate, and make sure everyone understands which document supports the next construction stage.
7. Complete a documented handover
Before accepting the plumbing work, walk through the home with the responsible contractor. Ask for a demonstration of fixture operation, shutoffs, and hot-water controls. Observe visible connections during normal operation and record concerns for correction rather than assuming another trade will address them.
Keep 2 core documents together: the approved plumbing plan and the completed inspection record. Add equipment instructions, change records, and useful photographs to a single handover folder. Label the folder with the property address and 2026 completion date if the work finishes this year.
For a rental property, give the manager practical operating information without asking tenants to diagnose concealed problems. Identify where to report leaks, what access maintenance staff need, and which contractor handles unresolved construction items. Keep that process separate from routine service bookings.
- Locate the main water shutoff and fixture shutoffs.
- Demonstrate fixture drainage and hot-water operation.
- Record incomplete items and who will correct them.
- Collect inspection records and equipment instructions.
- Share access information with the future property manager.
Compare your plumbing project options
Choose an arrangement that matches the job. Construction installation, independent review, and later service solve different problems; none replaces the others.
| Option | Best for | Practical advantage | Key limitation |
|---|---|---|---|
| Builder-managed plumbing contractor | Homeowners wanting one construction contact | Keeps plumbing coordination within the builder's project structure | You still need a clear plumbing scope and access to records |
| Owner-hired new-construction plumber | Owners managing their own build | Gives you direct communication about plumbing decisions | You carry more responsibility for coordination with other trades |
| Independent plumbing review | Owners seeking another assessment at an agreed stage | Adds a separate review of documented concerns | Does not replace contractor testing or required inspections |
| Local plumbing and drain service | Homeowners needing repairs, clearing, or maintenance | Provides a service route for a defined operating problem | General service coverage does not establish full new-construction capability |
Choose the construction arrangement first, then identify your service contact. Ask $15 Sewer & Drain about a specific residential plumbing or drain problem, and confirm any construction-related request before making it part of your build schedule. This separates a supported service need from an assumed installation scope.
Common mistakes new-home owners make
Buying fixtures after rough-in
A replacement selection can have different connection or clearance requirements. Give the contractor specifications before installation, and have any later change reviewed before purchase. Appearance alone does not establish compatibility.
Treating a working faucet as project acceptance
Running water demonstrates one function, not the condition of the entire plumbing system. Confirm testing, inspections, corrections, and completion records separately. Do not replace those checks with a casual walkthrough.
Letting landscaping hide sewer access
A cleanout shown on a drawing still needs usable access after the yard is finished. Include it in landscaping coordination and the handover walkthrough. Avoid making future drain service depend on removing a permanent feature.
Leaving outside connections between contractors
The house plumber, builder, and utility-related contractors need agreed boundaries. Name who owns each connection task before work starts. Record the handoff so an unfinished section does not become everyone's assumption and nobody's assignment.
Keeping tenant instructions separate from plumbing records
Property managers need both operating guidance and construction documentation. Store them by address and keep unresolved items visible. A tenant's maintenance report should reach the right contact without requiring the tenant to interpret the building plans.
FAQ
What does plumbing for new construction homes include?
Plumbing for new construction homes includes water supply, drains, vents, fixture connections, and hot-water equipment. The written scope should also identify outside connections, testing, inspections, and handover responsibilities.
When should I choose fixtures for a new home?
Choose fixtures and provide their specifications before the affected rough-in work begins. Later changes need contractor review because connection locations and clearance requirements can differ.
Can a regular service plumber handle a new construction project?
Confirm new-construction scope directly rather than assuming general plumbing service includes a complete build. Ask about plans, permits, coordination, inspections, and the exact work covered by the agreement.
Is tankless hot water always better for a new house?
Tankless hot water is not automatically the better choice. Compare household use, utility requirements, installation space, and service access with a storage-water-heater arrangement.
Do I need a sewer camera inspection for a new home?
Ask the contractor whether a camera inspection is appropriate for the proposed connection, particularly when an existing line is involved. Camera footage shows accessible pipe interiors but does not replace required construction inspections.
What should I check before plumbing pipes are covered?
Confirm the fixture layout, required tests, inspection status, and outstanding corrections before pipes are covered. Keep the approved plans and relevant records available for that review.
What plumbing information should a new-home landlord keep?
Keep approved plans, inspection records, shutoff locations, equipment instructions, and unresolved-item records for the property. Give the property manager clear reporting and access instructions as well.
One last thing
Ask for a shutoff walkthrough before you need one. Have the contractor show you which valve isolates the whole home and which valves serve individual fixtures. Knowing the difference is more useful than a folder full of unlabeled photographs.
For a San Jose plumbing or drain-service problem after handover, call $15 Sewer & Drain and describe the affected fixture, visible symptoms, and any relevant construction history. Confirm the service scope and arrival expectations by phone rather than assuming the construction contractor's schedule applies.